Your TMS Reimagined.
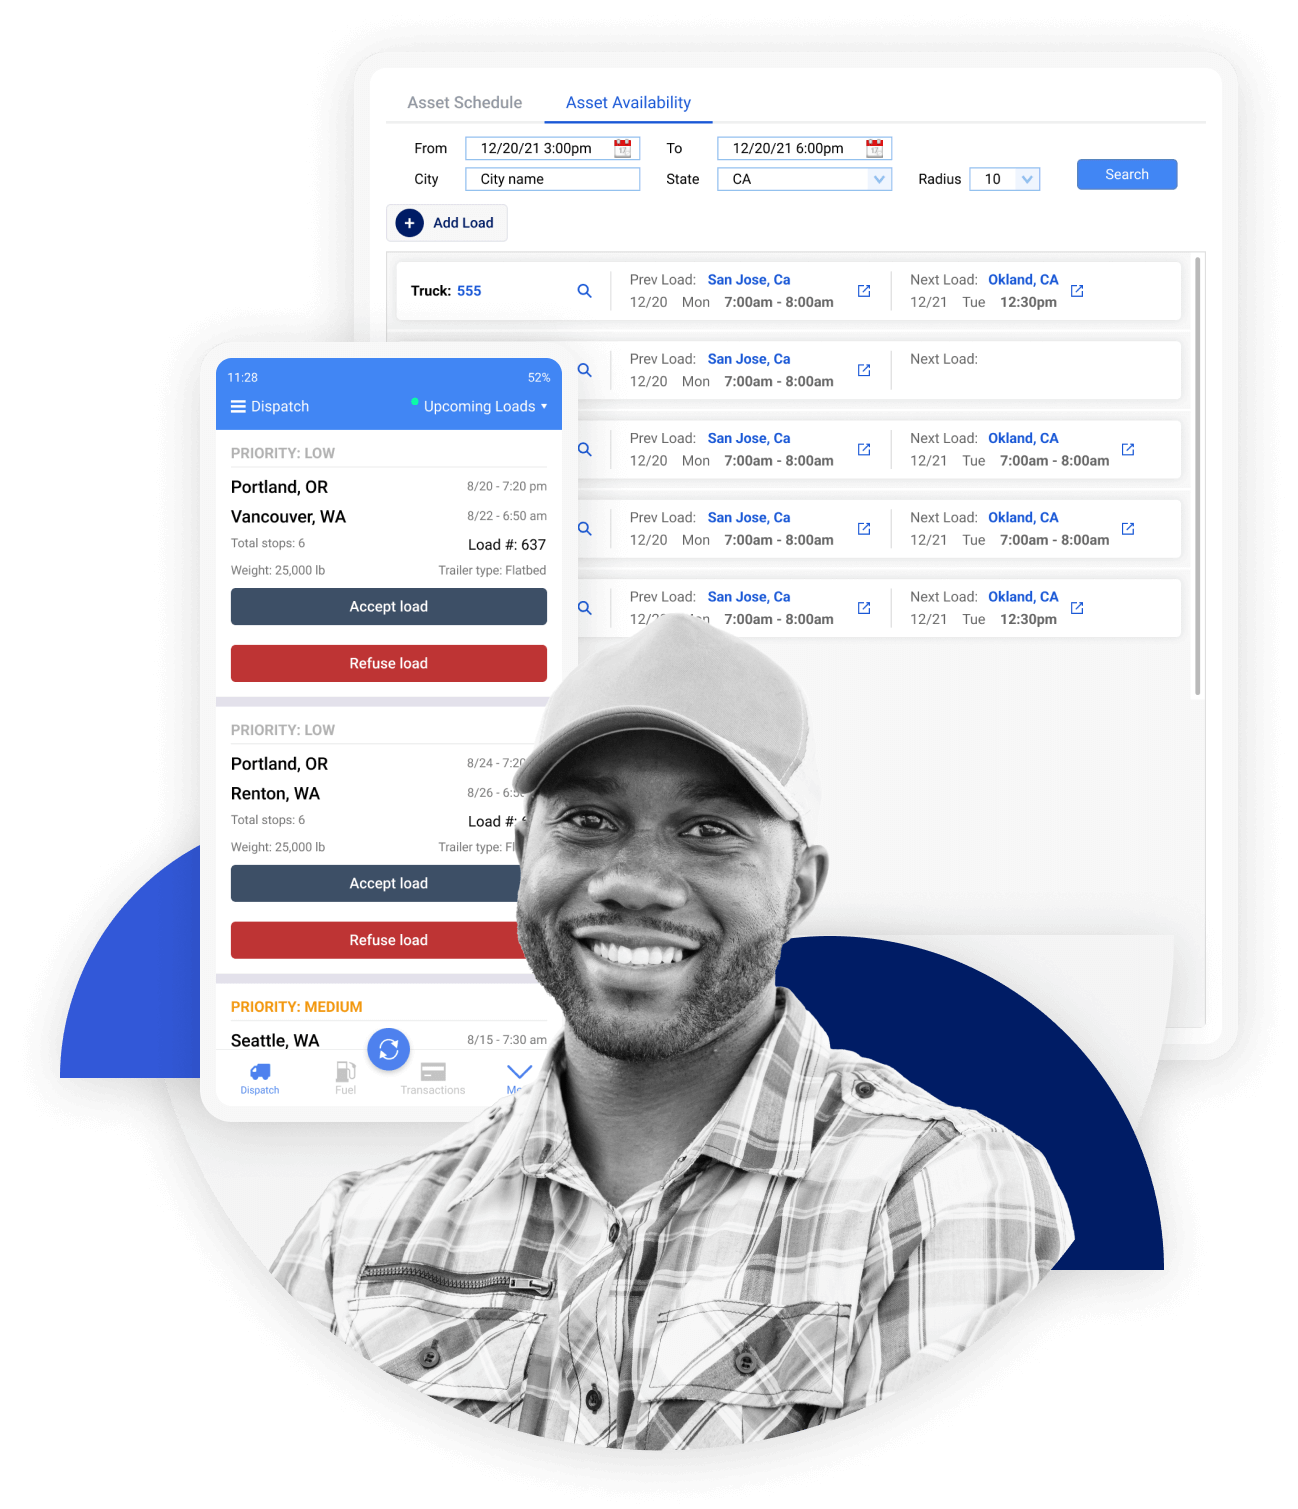
Easily manage your loads with the OnLoad mobile app & admin dashboard

Real-Time Mobile Load Management
Easily manage your loads with the OnLoad mobile app & admin dashboard
Request DemoGet white paperThe OnLoad Journey
Solve for missing documents and scheduling delays with our app’s robust features
Dispatch
Step 1
Create and Assign a Load
To create a load, press “Add Load” in the dashboard and either select a PDF to upload and scan, or manually enter the load’s information.
Track and Schedule in Real-time
Dispatchers can track their assets in real-time and receive updates regarding asset availability and ETAs to the next stop.
Load Acceptance
Step 2
Current & Upcoming Loads
Drivers can view current and future loads assigned to them as well as see specific details such as driver pay, documents, and load notes.
Accepting and Rejecting Loads
Once the load has been assigned, the driver will be notified and can accept or reject the load, and OnLoad will immediately notify the administrator.
Details & Submission
Step 3
Upload Documents
Users can upload shipping documents such as BOLs and rate confirmations, resulting in a 100% document upload guarantee.
Complete & Submit Load
Once the load is completed, drivers can review all associated paperwork for each stop and submit for administrator approval.
Admin Approval
Step 4
Review Submission
Admins receive load submissions from drivers, including shipping documents associated with the load, which they can approve or reject and ask for revisions.
Schedule Payment
After load submissions have been approved, administrators can schedule invoices or payments.
Manage twice the loads in half the time.
Learn MoreThe features successful trucking companies need.
Get StartedLive Location Tracking + ETA
Track your assets - get real time load updates and ETAs.
Asset Scheduling
Schedule out your assets, and find available trucks to take more loads.
Smart Document Scan
Scan and upload shipping documents to extract info for load creation.
Driver Mobile App
Allow your drivers to send and receive real time load updates.

